WPScan is a free, for non-commercial use, black box WordPress security scanner written for security professionals and blog maintainers to test the security of their sites. I recently tested to see if it could be deployed on a t2.nano AWS instance, and it can! Here's a step-by-step guide on how to do it:
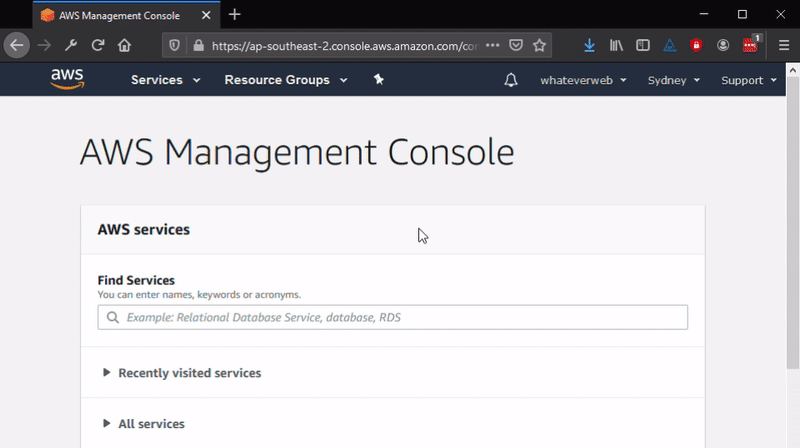
1. Login to your AWS Console: https://console.aws.amazon.com/console/home
2. Once logged in Navigate to Services > EC2
3. Navigate to Instances > Launch Instance
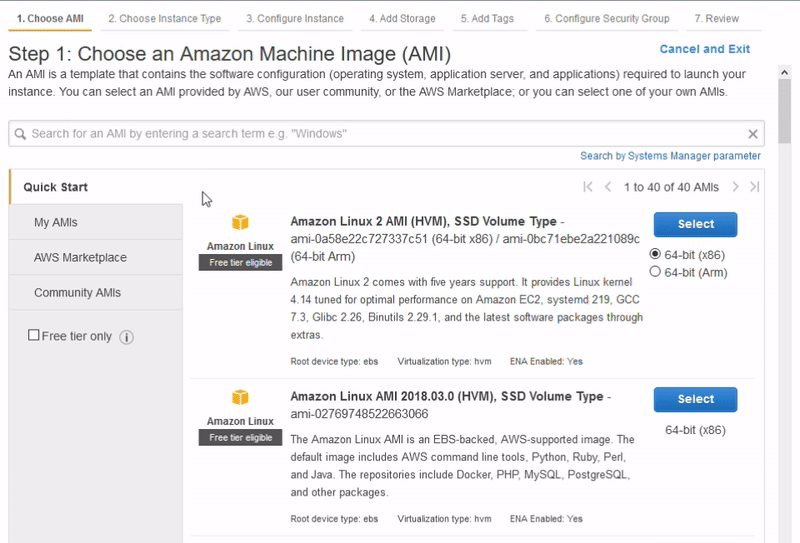
4. In the Quick Start menu select Ubuntu Server 18.04 LTS - it is "Free tier eligible". Stick to 64-bit (x86) and click the blue Select button.
5. Select t2.nano, or t2.micro if using the free tier. You may want to configure a Security Group, if you don't know what they are and can't be bothered figuring that out just click "Review and Lunch" down the bottom-right.
6. Verify that everything looks correct and then click on Lunch in the bottom-right.
7. If this is the first instance you've created then you will need to create a new Key Pair.
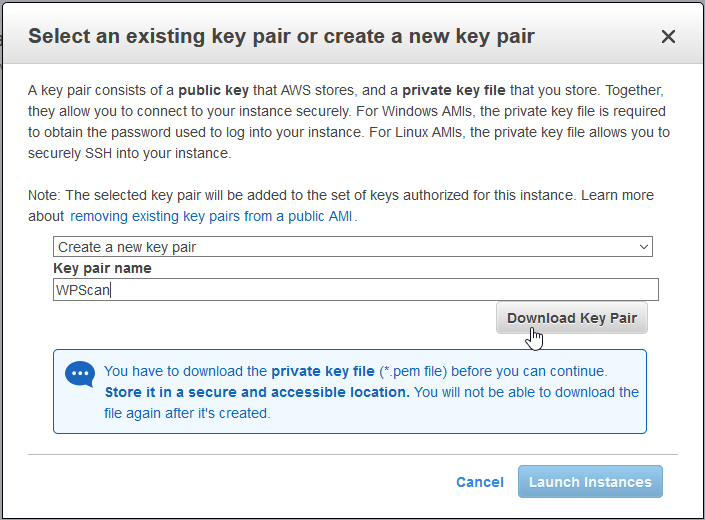
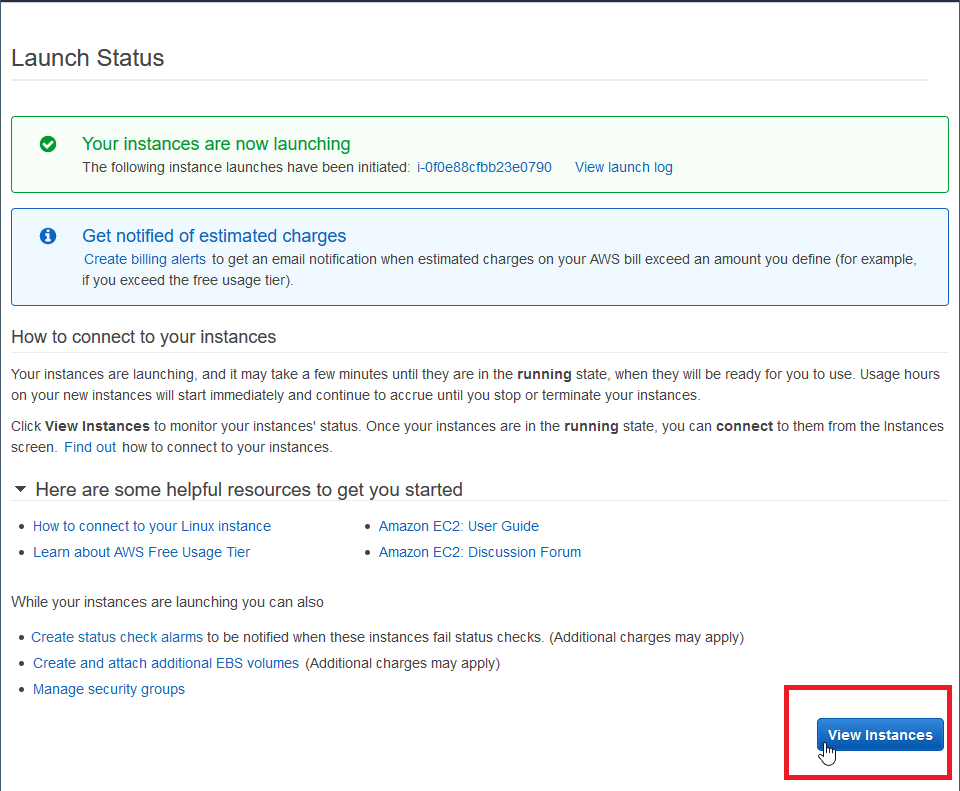
8. Once you have downloaded the Key Pair (or selected an existing one) then you can click Lunch Instance.
9. Click on "View Instances"
10. Download PuTTY if you don't already have it.
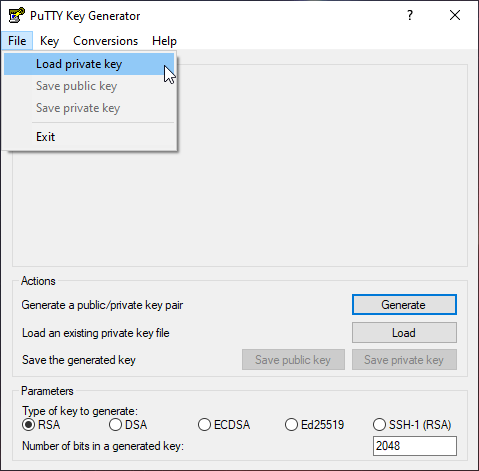
11. Open up PuTTYgen (it comes with PuTTY).
12. Load your *.pem file by File > Load private key
13. Once loaded, click Save private key
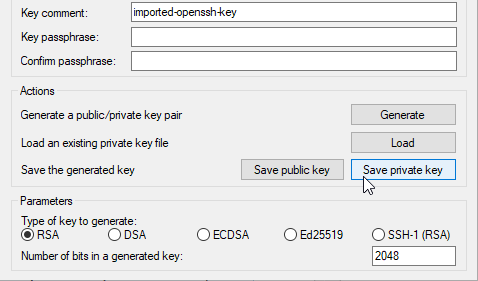
14. PuTTYgen displays a warning about saving the key without a passphrase. Click Yes.
15. Save the file in a place where it won't be deleted. You will not be able to access your newly created AWS instance without it.
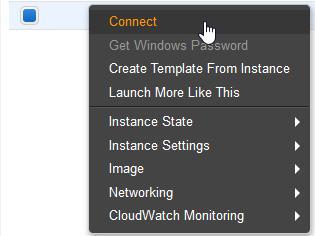
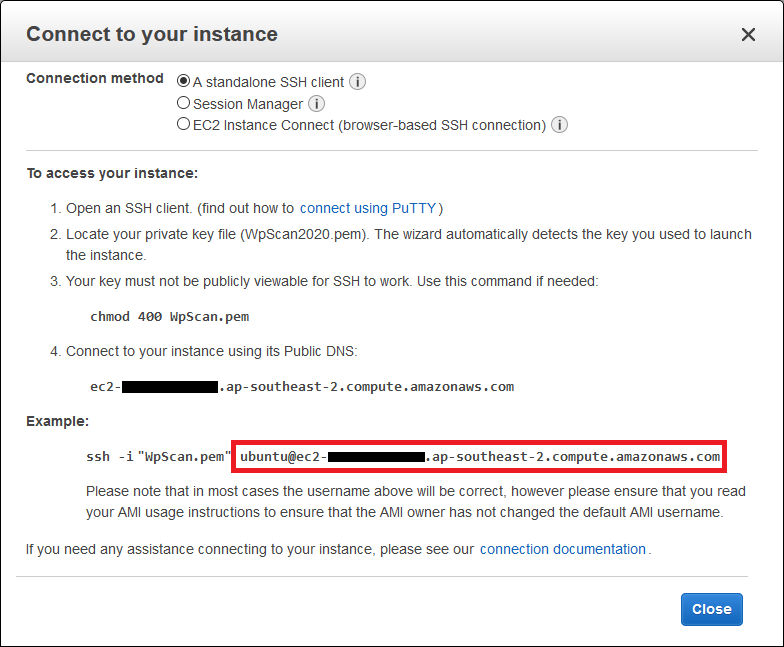
16. Back in your browser (should still have the AWS EC2 > Instances page up from before) right+click on the newly created Instance and click on Connect
17. Locate the Example and copy the ubuntu@... line. In my case it looks like this: ubuntu@ec2-12-34-56-789.ap-southeast-2.compute.amazonaws.com
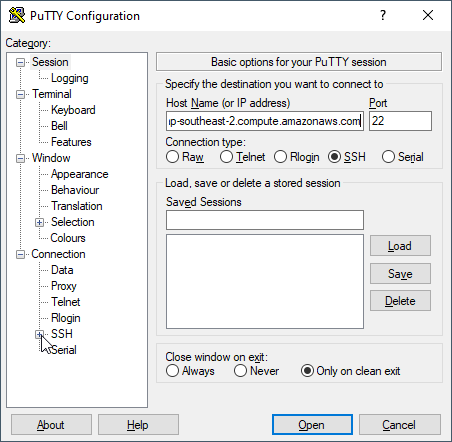
18. Open up PuTTY and paste that line into the "Host Name" field.
19. In PuTTY on the side click on Connection > SSH > Auth.
20. Click on "Browse..." for the "Private key file for authentication:" field and select the .ppk file

21. Click back on the Session Category on the left, type in "WPScan" for the "Saved Sessions" field and click on the Save button.
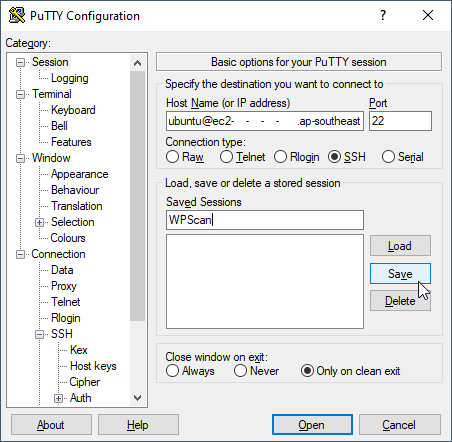
22. You now never have to do the Auth-file locate process again and can instead double click on the WPScan Saved Session.
23. Click on Open. You will get a Security Alert, click Yes.
24. Now the fun begins! Start by updating the packages index, type:
sudo apt update
25. Once completed type:
sudo apt upgrade
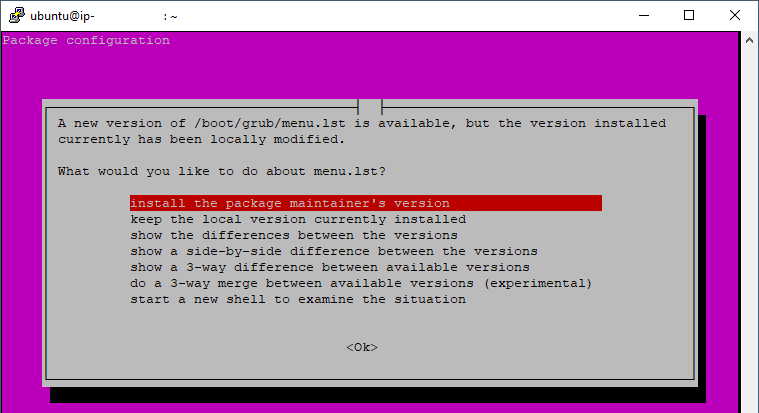
26. When the giant Pink warning occurs press the up arrow on the keyboard followed by enter:
27. Now we install WPScan's pre-requisites, starting with RVM. Run the following commands:
sudo apt-add-repository -y ppa:rael-gc/rvm
sudo apt-get update
sudo apt-get install rvm
28. Nice, RVM is now installed. Onto installing Ruby:
sudo apt install ruby-full
29. Once completed verify it was installed by typing:
ruby --version
30. If you get any errors, type in:
sudo apt install ruby
and try again. Now Ruby and Rubygems are installed, and we already took care of Curl right at the start.
31. So the next thing to do is to reboot the instance since we just installed and updated a lot of goodies:
sudo reboot
32. Wait 1 minute and then reconnect to the instance via PuTTY. Now we install WPScan:
sudo gem install wpscan
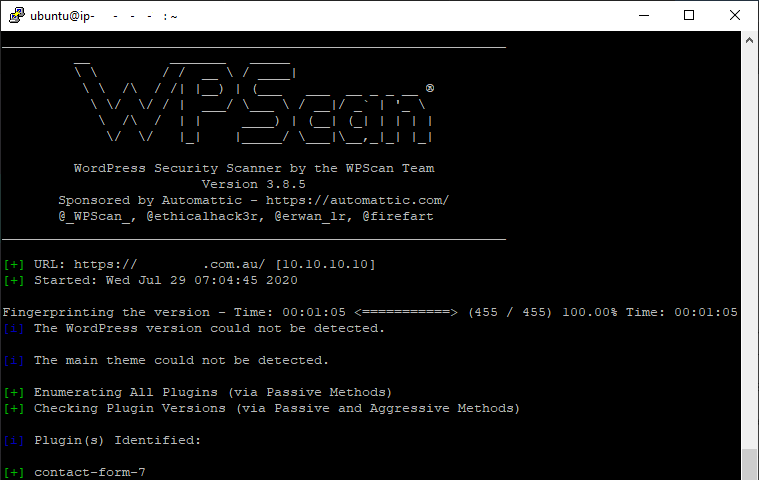
33. DONE! Give it a try with:
wpscan --url https://example.com --detection-mode aggressive -e ap --ignore-main-redirect --random-user-agent --force --wp-content-dir /wp-content/ --api-token apitoken